5 Water Cycle Experiments You Need to Try
Just so you know, this post contains affiliate links. That means if you use them to make a purchase, I may earn a commission. You can read my full affiliate disclosure HERE.
Water cycle experiments have a unique way of adding hands-on fun to your lesson plans. Whether you’re homeschooling one or multiples, I highly recommend trying these in your homeschool!
How to Include Water Cycle Experiments in Your Lesson Plans
Unit studies are a great option for homeschooling families (and you can find a bunch of Online Unit Studies I created at Techie Homeschool Mom). Why do I love them? Well, for starters, we have four kiddos ranging from 3 to 10 years old. There are many times we like to learn about a topic all together – so, to make it easier I go to unit studies!
When doing a unit study, you’re often left to piecing together your own curriculum and resources to use. Again, this can be another perk of using this method. Instead of feeling like you have to stick to a rigorous plan or schedule, you can create your own plans.
For example, if you’re studying the weather, there are so many books and free online printables you can use (like this free printable weather activity pack) to build a great study! And, don’t forget the activities!
When you’re studying anything about the weather, these water cycle experiments are worth a try. Simply set aside 20-30 minutes to do them with your kids – they’ll love them. Try one or try them all!

5 Water Cycle Experiments to Try in Your Homeschool
Each of these can be modified for any age and grade. In fact, I recommend putting all hands on deck for lots of learning fun.
Indoor Water Cycle Experiments
Although we can witness parts of the water cycle by seeing clouds in the sky, rain on rainy days, and dew drops on a cool morning, each step of it is not always visible. This experiment will help you physically see each step up close and personal…not to mention, in real time.
Supplies:
- Large Glass Bowl
- Small Glass Bowl
- Boiling Water
- Salt (optional)
- Cling Wrap
- Ice cubes
Directions:
- Add 2 tsp of salt into the large glass bowl. This is an optional step and will allow kids to taste the natural filtering of the water that takes place during the cycle process.
- Pour boiling water into the glass bowl and mix until all of the salt has dissolved.
- Place the small bowl in the center of the large bowl (make sure it doesn’t float).
- Cover the large bowl with cling wrap (not too tight or too loose).
- Place a handful of ice cubes in the center of the cling wrap.
- Let the natural process of the water cycle begin.
Learn About Evaporation with Salt
Evaporation is a type of vaporization that occurs on the surface of a liquid as it changes into the gas phase. This experiment will show how this process works using salt.
Supplies:
- Salt
- Water
- Bowl
- Food coloring
Directions:
- Pour water into your bowl and add a few drops of food coloring to it, stir it around.
- Add your salt to the the water. The more salt you add, the more dramatic the effect.
- Set aside for a few days and watch to see what happens!
How do clouds make rain?
We can see clouds in the sky and we can see rain when it falls. What isn’t as noticeable is the process right before it starts to rain.
Within a cloud, water droplets condense onto one another, causing the droplets to grow. When these water droplets get too heavy, it begins to rain. See if you can make this happen!
Supplies:
- clear cup (or mason jar)
- water
- shaving cream
- food coloring (blue)
Directions:
- Put water in the cup, leaving enough room for (shaving cream) clouds. The water represents “air.”
- Put a shaving cream cloud on the top. The cloud represents water droplets.
- Put blue food coloring on the cloud. This shows what happens when the water gets heavier.
- Wait to see what happens when the water gets heavy on the cloud.
Make a Rain Cloud in a Jar
When you look into the sky, you can visibly see clouds… but how did they get there?
A cloud is formed when water vapor condenses into water droplets that attach to particles (of dust, pollen, smoke, etc.) in the air. When billions of these water droplets join together, they form a cloud. Try to make your own cloud in a jar with this experiment!
Supplies:
- A jar with lid
- About 1/3 cup hot water
- Ice
- Hairspray
Directions:
- Start by pouring the hot water into the jar. Swirl it around a bit to warm up the sides of the jar.
- Turn the lid upside down and place it on the top of the jar. Place several ice cubes onto the lid, and allow it to rest on the top of the jar for about 20 seconds.
- Remove the lid, quickly spray a bit of hairspray into the jar, and then replace the lid with the ice still on top. Watch the cloud form. Remove the lid to let the cloud escape
Water Cycle in a Bottle
This experiment will help you create your own biome in a bottle and watch the water turn into a gas, turn back into a liquid, and fall back into the bottom of the bottle. These are each valuable steps in the water cycle process.
Supplies:
- Plastic bottle
- Plastic cup
- Ice cubes (optional)
- Blue food coloring
- Permanent marker
Directions:
- Remove the label from the bottle. Add a drop of blue food coloring to the bottle and fill about 1/3 of the way with water. Screw the cap on tightly.
- Turn the bottle upside down inside a cup.
- Place a couple of ice cubes on top of the bottle and set it in a sunny location.
- Check the bottle after about an hour.
Water Cycle Lapbook
In addition to these water cycle experiments, I have a Water Cycle Lapbook your kids might enjoy putting together during your water cycle unit study!

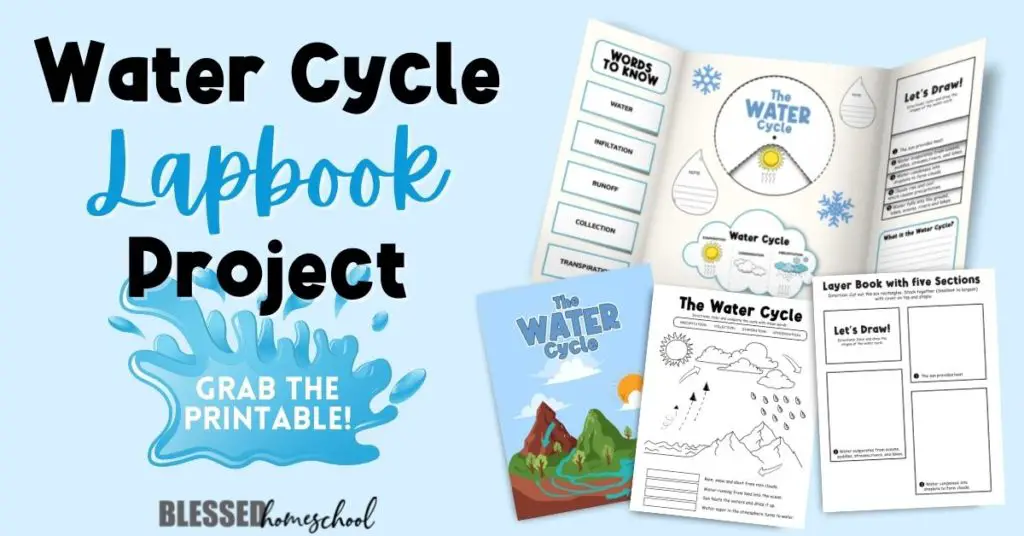
You can grab the printable Water Cycle Lapbook Project here.
And finally, no matter what science projects you do in your homeschool, I’ve got a free Scientific Method template you can use to easily help your kids learn the process of the scientific method. Click the banner below to grab yours!

I hope you love performing these water cycle experiments with your kids! Let me know in the comments: have you tried any of these? Which one was your favorite?

Related Posts
- Scientific Method for Kids: An Easy Step-by-Step Guide
- 5 Simple Nature Walk Resources for Your Homeschool
- Easy Water Cycle Project: Printable Lapbook Template
- Density Lesson Plan for Elementary {and a Freebie!}
Blessed Homeschool is a participant in the Amazon Services LLC Associates Program, an affiliate advertising program designed to provide a means for sites to earn advertising fees by advertising and linking to Amazon.com. You can read my full affiliate disclosure HERE.